We are the month of Thanksgiving we are reminded and encouraged to be grateful for all our many blessings. To wake up each morning and to be given the opportunity to do what we love, if but for a moment, should not go unnoticed. I am so thankful for my art and it has brought me through many a dark night. I also love how a good movie can give us escape from the burdens of our everyday lives. This is the inspiration for my current blog post, "Take Time to Soak It In."

Supplies: Soul Laser Cuts-Alarm Clock Frame Ups [D72C], Emerald Creek Allure Oil Rubbed Bronze, Hammered Metal, Charred Gold Embossing Powders, WOW Embossing Pad, Heating Tool, Rub’n Buff, Paintbrush, Printed Images, Printed Transparencies, Double Sided Tape, Weldbond, Clamps, DecoArt One Step Crackle Gel, DecoArt Antiquing Cream
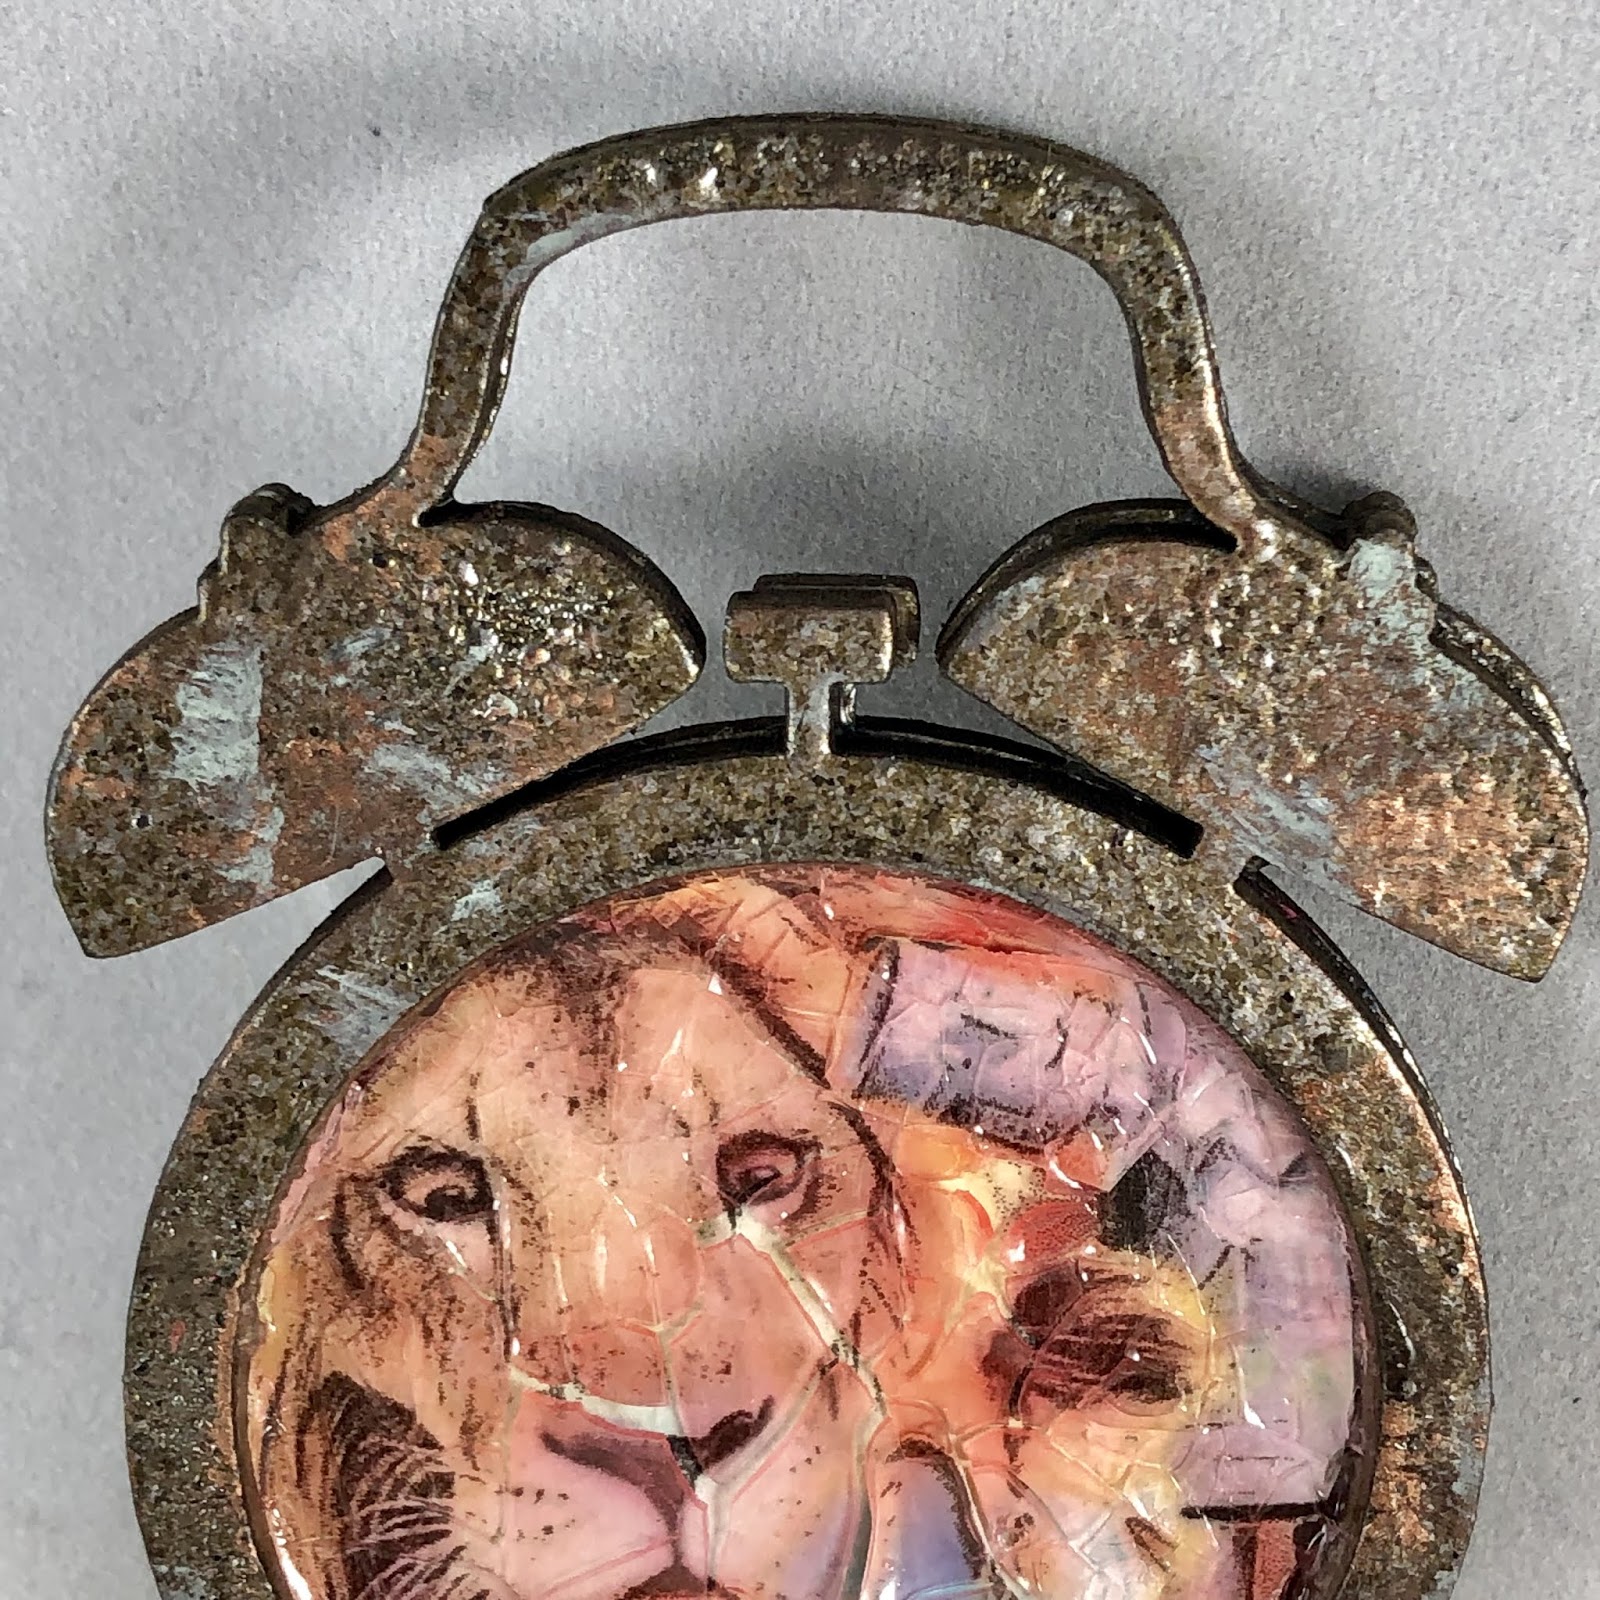
1. Cut apart GSLC Alarm Clock Frame Ups

2. Use WOW Embossing Pad to add Emerald Creek Allure Oil Rubbed Bronze, Hammered Metal, Charred Gold Embossing Powders to the GSLC Alarm Clocks.

3. Cure with Heating Tool.
4. Add patina with various Rub’n Buff and a paintbrush.

5. Choose and print images and transparencies for your GSCL Alarm Clocks.

6. Adhere Transparency to image with double sided tape.

7. Cut out pictures and glue to inside of GSLC Alarm Clocks.

8. Glue Front portion of GSLC Alarm Clock into place.

9. Use clamps to hold securely in place.

10. Once dry fill in frame with DecoArt One Step Crackle gel.

11. When fully dry use DecoArt Antiquing cream and a paintbrush to fill in the cracks.
12. Take off excess Antiquing Cream with a damp cloth.
13. Spray with hairspray or a matte spray to seal your art pieces.
14. Your GSLC Alarm Clocks are now ready to use as you wish.
Some final thoughts.
From Harry Potter “You fail to recognize that it matters not what someone is born, but what they grow to be.” I was born to a humble home and have found my way in a world that is most different than I was born, but I like to say, “You can take the boy our of the country, but not the county out of the boy.”
From Alice in Wonderland, “There is no use going back to yesterday, because I was a different person then…” So many people let their past define them but the only day we are promised is the one we have been given, I like to say, “Live and let Live”
From the Wizard of Oz, “Somewhere over the rainbow, skies are blue, and the dreams that you dare to dream, really do come true.” I’ve always had an optimistic personality and have been thankful to see so many of my dreams come true. I never want to loose hope in better days and the fact that all sorrows will one day pass.