Wednesday, July 24, 2019

Birds of a Feather-A Peek-a-Boo Project


I’ve always enjoyed bird watching and have a favorite one for each season. Spring is the Jenny Wren, as it reminds me of my mom hanging out laundry to dry on the clotheslines as the lilacs were blooming. Summer is for the Indigo Bunting that can be discovered on the river trail in the nearby State Park. Autumn is reserved for the mysterious Ravens made famous by Edgar Allan Poe. Winter is the chickadee; whose colors remind me of the most gorgeously weather barn-wood found in my old neighborhood. I have joined MD Birding Facebook page and am thrilled to know so many amazing creatures yet to be discovered. These are the 
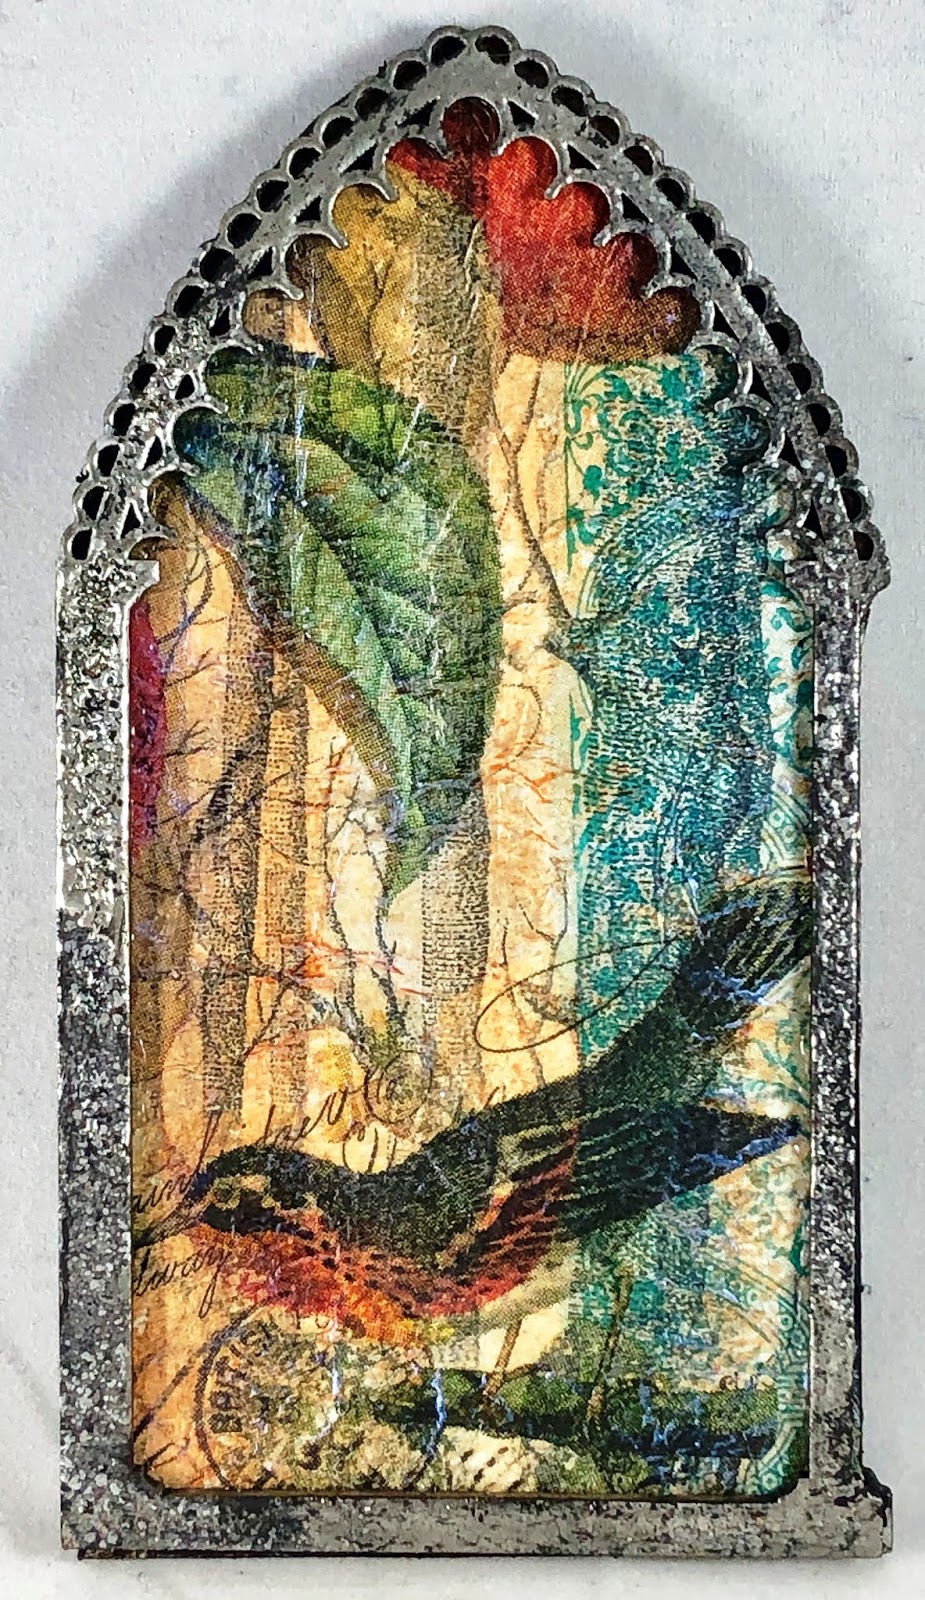
inspirations for this art pieces. I am also using a new technique for me, the layering of paper napkins but I wanted to give them a tintype appearance as I love everything vintage and antiquity.
Supplies:  Triptych Arch Top-D9B, White Gesso, WOW Embossing Pad, Ice Resin Enamels in  German Silver and Pewter, Allure Embossing Powder-Hammered Metal, Heat Tool, Aluminum Foil, Weldbond, Scissors, Pencil, Rubbing Alcohol in a Spray Bottle, paper Towels, Silver Leaf Run ‘N Buff, Paper Napkins of Your Choosing, Matt Varnish Medium, Paintbrush, 
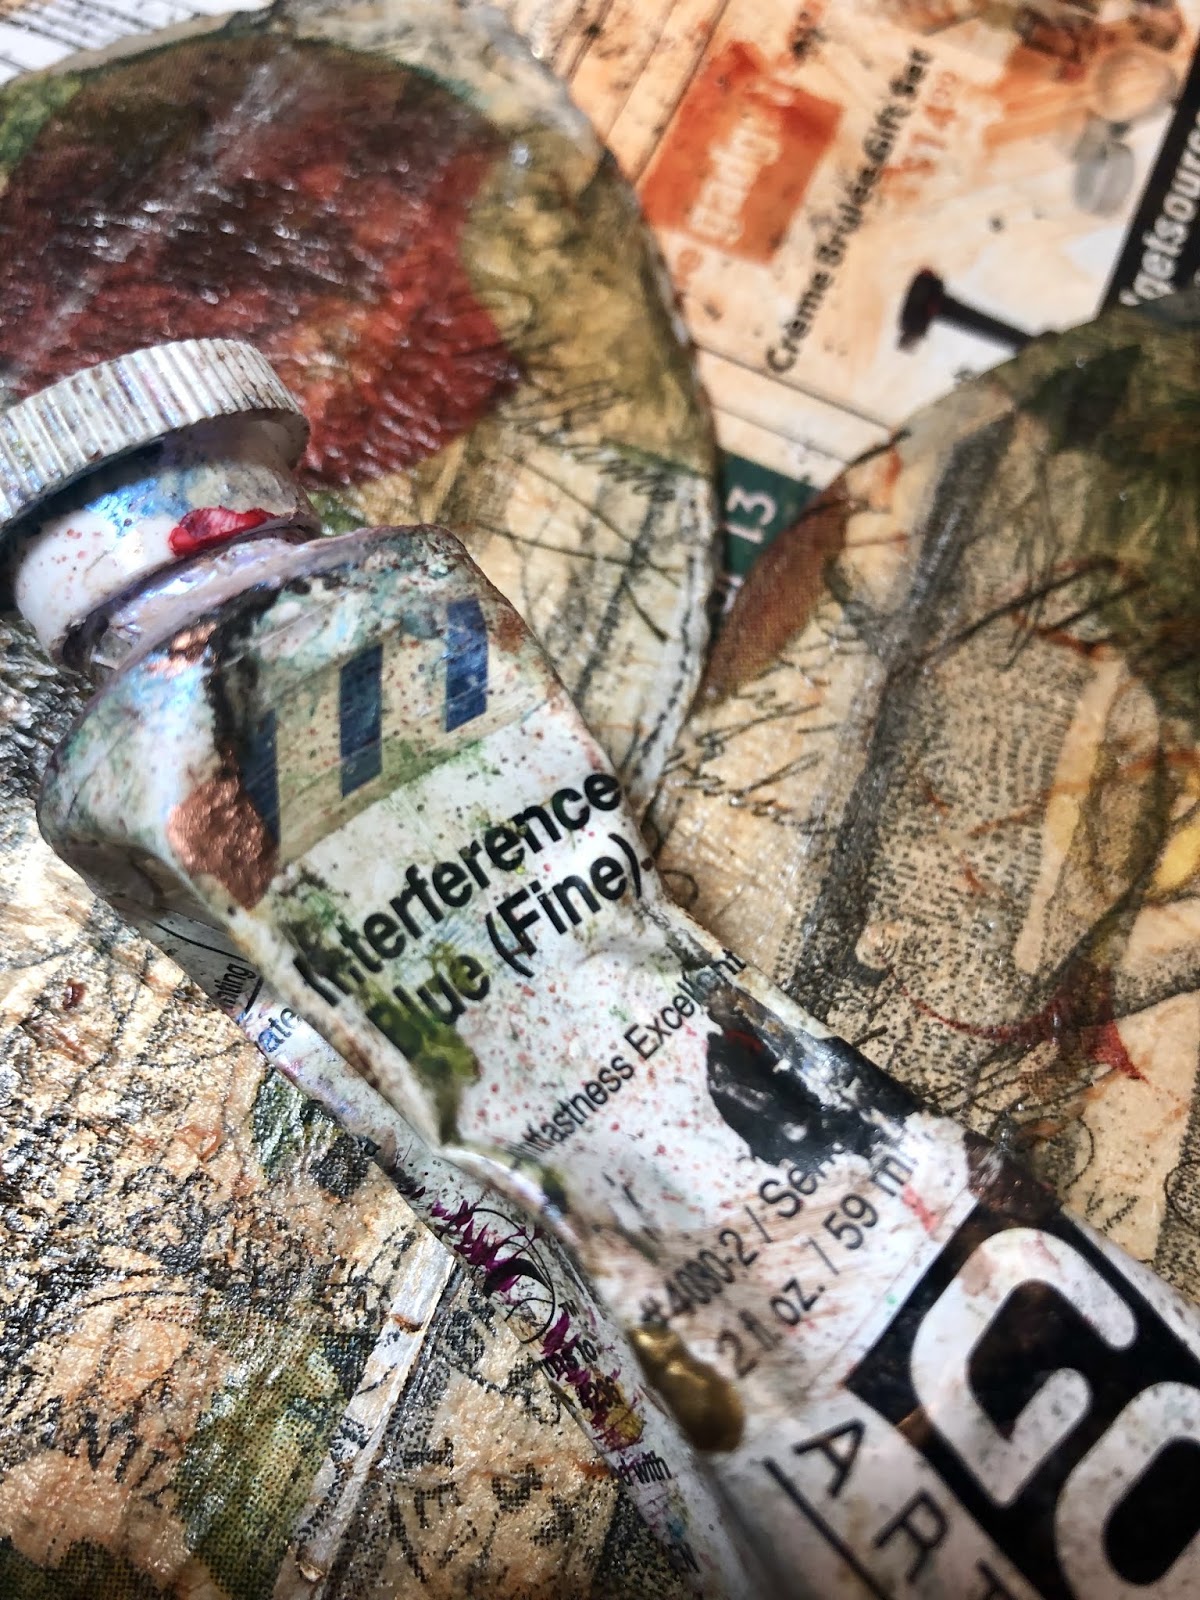
Quinacridone Gold Azur Acrylic Paint, Interference Blue Fine Acrylic Paint, Clamps, Deli Paper,
1.  Take apart GSLC Triptych Arch Frame.
2.  Paint back portion with white gesso.
3.  On front portion use WOW Embossing Pad and ice Resin Enamels in German Silver and Pewter along with Allure Hammered Metal to give it your desired look.
4.  Cure with a Heating Tool.
5.  On back panels trace onto aluminum foil and cut carefully with scissors.
6.  Glue onto back panels with Weldbond, smoothing down and wiping clean with rubbing alcohol and a paper towel.
7.  Coat edges with Silver leaf Rub N” Buff, clean again if necessary with rubbing alcohol and paper towel.
8.  Take apart 3-Ply Paper Napkins.
9.  Once you have the desired pieces collage your back panels using Matt Varnish Medium.
10.                I wanted a layered look so I put down the tree trunks and branches first then added the birds and apples later.
 
 
11.                As a final vintage layer, I made a wash out of Quinacridone Gold Azur Acrylic Paint and Matte Varnish Medium.
12.                Put GSLC Arch Frames together securing with Weldbond.
13.                Sandwich with deli paper and press tightly together with clasps.
14.                I added a thin layer of Interference Blue Fine acrylic paint over top to give a more metallic glow.
15.                As I will be using these for panels for my book s of boxes I did not latch them together. For directions on doing that go to my Becoming Butterflies Post from earlier.

Some final thoughts. Tintype Photographs always seemed a bit mysterious to me, a treasure rarely found in our modern world. They remind me of a forgotten world and time. They have a way of settling me and putting me into a calm space. I keep a few in a wooden bowl on my nightstand and look at them if I am having trouble sleeping. I make up stories for my “collected relatives” and slowly find my place of rest. Bird watching is another activity that calms me and brings me great joy. I like to imagine the birds with personalities and stories of their own to tell.


Wednesday, July 10, 2019

Misunderstood Monsters and Mysterious Creatures Alphabet-Installment E, Q, and U-A Peek-a-Boo Project

I will be reusing the Small 5" by 7" Wooden IKEA frames I added to patina to the last time and have included those steps here for reference. This time I will be using Ferro Metal Effect Colours it is described as a Texture Paint to alter the Gypsy Soul Laser Cuts Alphabet Stencils for "E" is for Elves, "Q" is for the Queen of the Fairies and "U" is for Unicorn. Remember this technique can be used to alter any of the GSLC chipboards. 
Supplies:  Gypsy Soul Laser Cuts-Alphabet Stencil Blanks, Gypsy Soul Laser Cuts-Dragons Shape Set, Gypsy Soul Laser Cuts-Garden Fairies Medium, Gypsy Soul Laser Cuts-Unicorns  3 small 5" by 7" inch IKEA wooden frames, Matte Medium Ice Resins in Torched Copper and German Silver, Aged Hunter and Aged Copper Embossing Enamel, Tim Holtz Distress Spray Stain in Walnut, Heating Tool, Finnabair Rust Pastes in Greens, Browns, and Orange, Transparent Burnt Sienna Ink, Paint Brush, Ferro  Metal Effects Colour Texture Paints in  Copper, Gold, Steel and Greengold, a small plastic spatula, Pieces of fabric for the backgrounds, Various Printed Images of Monster and Mysterious Creatures using Inkjet Printer and paper, and Weldbond.
1.  Take GSLC Alphabet Stencil Blanks from Package.
2.  Print Images of your choosing to represent each letter, I have decided upon a Monsters and Mysterious Creatures one and not sure what I will find. I was inspired by Dave Bell Graphic Artist of Classic Monster Posters and will start with them.
3.  I am using 3 small 5" by 7" inch IKEA wooden frames to showcase each of the letters.
4.  I am a texture type of guy so I want to alter the frames and give them added interest. I want them to look similar but not the same like they are part of a collection.
5.  For the first frame I used various Ice Resin Enamels in German Silver and Torched Copper and Embossing Enamels in Aged Hunter and Aged Copper. I layered them and cured with a heating tool. This method can also be used on any of the GSLC chipboards as I will probably use later in my project.
6.  I added Tim Holts Distress Sprays in Walnut Stain to add additional patina.
7.  The second frame was aged using Finnabair rust pastes in greens, browns, and orange placed on randomly with a paintbrush. I then used transparent burnt sienna ink to fill in any empty spaces. Once again this technique can be used on any of the GSLC chipboard pieces. 
8.  The final frame was given a patina using Tim Holtz Distress Grit-Paste and Ferro-Copper Paste applied with a thin plastic spatula using a  Snake Skin Stencil and further distressing with alcohol inks in browns and greens. Once again this technique can be used on any of the GSLC chipboard pieces. 
9.  For altering the GSLC Alphabet Stencil Blanks this time I will be using Ferro Mettle Effect Colour Texture Paints.
10.                I used Copper on the GSLC Alphabet Stencil "Q", Greengold and Steel on the GSLC Alphabet Stencil "E", and Copper, Gold and Greengold on the "U"  .
11.                Choose a Dragon, a Fairy, and a Unicorn from each of the Gypsy Soul Laser Cuts Sets .
12.                Find complimentary fabric pieces for the backgrounds of you GSLC Alphabet Framed Designs. I used a mesh fabric for the "E",  I used a floral print for the "Q", and a rich scarlet magenta for the "U".
13.                Cut and glue the appropriate images for each of Framed letters, securing with Weldbond.
14.                Add the chosen Dragon, Fairy, and Unicorn from each of the Gypsy Soul Laser Cuts Sets to add further depth to your designs. I did not alter these chipboards in any way but used them in their original beauty.
15.                Our GSLC Alphabet Stencils are complete for Letters "E","Q" and "U"
Some final thoughts.
"E" is for elves, who come in many shapes and sizes, living in kingdoms, found in forest, meadows, and hollowed out trees.
 
"Q" is for the Queen of Fairies, rules over all and gently advises,  carefully keeping watch so none will get stung by bees.

"U"  is for Unicorn, who is sure to be one of my favorite surprises, a magical creature who sometime teases .
 
Stay tuned for the next instillation of  GSLC Alphabet Stencil Blanks. I cannot wait to see what new images I discover.