Showing posts with label Step-by-Step. Show all posts

Wednesday, March 25, 2020

Signs of Spring-A Peek-a-Boo Project


I’ve always loved forcing crocus bulbs in the dead of winter making springtime come just a little bit earlier in the dead of winter. This is the inspiration for this instillation.
Supplies:  Gypsy Soul Laser Cuts-Arch Top Triptych 8 Inch, Gypsy Soul Laser Cuts-Triptych Arch Top, Gypsy Soul Laser Cuts-Fern Fronds, Magazine Pictures of Crocuses, Embossing Powders in Shades of Green,  Wow Embossing Ink Pad, Heating Tool, Distress Stains in Shades of Green, Distress Oxide Spray in Shades of Green, Mister of Water, Scissors, Sandpaper Blocks, Ferro Blackberry Texture Paint, Plastic Spatula, Acrylic Paint- in shades of Brown, Purple, and Green, Weldbond, metal Clamps, Silicon Basting Brush, Small  Metal Hinges, Small Micro Screws, Screwdriver, DecoArt Triple Thick Glaze and One Step Crackle Medium
1.  Choose the center portion of the GSLC 8 Inch Arch Top Triptych and the side portions of the Arch Top Triptychs.  
  
2.  Use Wow Embossing Ink Pad and Embossing Powders in Shades of Green to layer onto the frame portion of the GSLC Triptych pieces until you have a pleasing effect. Curing with a heat tool between each layer.
 
3.  Use Distress Stains in Shades of Green, Distress Oxide Spray in Shades of Green to randomly color the GSLC Fern Fronds, spritzing with water in between layers.
 
  
4.  Fussy Cut Crocus Images you found in Magazines.
5.  Gently distress Crocus Images using Sandpaper Blocks.
  
6.  Use small plastic spatula to splatter and texture back portion of GSLC Triptychs using, Ferro Blackberry Texture Paint, and Acrylic Paint- in shades of Brown, Purple, and Green.
7.  Use Weldbond to glue down Crocus Images and GSLC Fern Fronds.
8.  Glue the GSLC 
Triptychs together and secure with metal clamps.
9.  Once Dry use a Silicon Basting Brush to paint the back part of the GSCL Triptychs.
10.                Once Dry attach GSLC Triptychs together using small metal hinges and micro screws.
11.                Gently drizzle DecoArt Triple Thick Glaze and One Step Crackle Medium onto the fronts of the combined GSLC Triptychs.

 Some Final Thoughts.
The crocus symbolizes Cheerfulness and Gladness, a perfect flower to bring into your home during wintertide when these emotions can be hard to come by.

Spring Flowers ~ Crocus - Poem by Mary Havran

Crocus flowers daring tiny warriors

Fighting their way up through

The winter ice

Crocus darling early Spring harbingers
Promising days will soon 
Be turning nice

Tiny Crocus flowers grow in close groups
Strength in numbers seeking
Where winter snows still may lie
Encircled encampment of floral troupes
“We march onward to spring”
They raise this brave battle cry

Bold strength contained in Crocus so small
Should winter challenge again
They simply refuse to die
Delicate blossoms possess such wherewithal 
I cannot help but wonder then 
Should not likewise you and I.


Wednesday, September 11, 2019

Misunderstood Monsters and Mysterious Creatures Alphabet- Last Installment K and X -A Peek-a-Boo Project

It is fitting that on 9/11 my one monster is associated with an iconic New York building and the whole series was to look at others differently. There are real monsters in this world but they are not always what people say they are. I will be reusing the Small 5" by 7" Wooden IKEA frames I added to patina to the last time and have included those steps here for reference. This time I will be using  Infusion Coloured  Stains and water to alter the Gypsy Soul Laser Cuts Alphabet Stencils for "K" is for King Kong, and "X" is for X-men many marvelous and mysterious creatures. Remember this technique can be used to alter any of the GSLC chipboards. 
Supplies:  Gypsy Soul Laser Cuts-Alphabet Stencil Blanks, Gypsy Soul Laser Cuts-Snowflake Shape Set, Gypsy Soul Laser Cuts-String Alongs - Gothic,   3 small 5" by 7" inch IKEA wooden frames, Matte Medium Ice Resins in Torched Copper and German Silver, Aged Hunter and Aged Copper Embossing Enamel, Tim Holtz Distress Spray Stain in Walnut, Heating Tool, Finnabair Rust Pastes in Greens, Browns, and Orange, Transparent Burnt Sienna Ink, Paint Brush, Versa mark Ink Pad, Embossing Powders-Tarnished Gold, Copper, Wendy Vecchi Red Geranium, PEARLustre Lapis, and Ranger Black Sparkle, Pieces of scrapbook papers for the backgrounds, Various Printed Images of Monster and Mysterious Creatures using Inkjet Printer and paper, and Weldbond.
1.  Take GSLC Alphabet Stencil Blanks from Package.
2.  Print Images of your choosing to represent each letter, I have decided upon a Monsters and Mysterious Creatures one and not sure what I will find.
3.  I am using 3 small 5" by 7" inch IKEA wooden frames to showcase each of the letters.
4.  I am a texture type of guy so I want to alter the frames and give them added interest. I want them to look similar but not the same like they are part of a collection.
5.  For the first frame I used various Ice Resin Enamels in German Silver and Torched Copper and Embossing Enamels in Aged Hunter and Aged Copper. I layered them and cured with a heating tool. This method can also be used on any of the GSLC chipboards as I will probably use later in my project.
6.  I added Tim Holts Distress Sprays in Walnut Stain to add additional patina.
7.  The second frame was aged using Finnabair rust pastes in greens, browns, and orange placed on randomly with a paintbrush. I then used transparent burnt sienna ink to fill in any empty spaces. Once again this technique can be used on any of the GSLC chipboard pieces. 
8.  The final frame was given a patina using Tim Holtz Distress Grit-Paste and Ferro-Copper Paste applied with a thin plastic spatula using a  Snake Skin Stencil and further distressing with alcohol inks in browns and greens. Once again this technique can be used on any of the GSLC chipboard pieces. 
9.  For altering the GSLC Alphabet Stencil Blanks this time I will be Infusion Coloured Stains and a spray bottle of water.
10.                I used different colors on both the GSLC Alphabet Stencil "K" and X". You can sprinkle them both on a nonporous surface and spray with water bottle or sprinkle directly onto chipboards and then mist with a water bottle. As they are water based and if they will be exposed to the elements they should be sealed in a matte medium.
11.                Find complimentary pieces metal for the backgrounds of you GSLC Alphabet Framed Designs. I used red for the "K", and a copper for the "X".
12.                Cut and glue the appropriate images for each of Framed letters, securing with Weldbond.
13.                Our GSLC Alphabet Stencils are complete for Letters "K" and "X" and actually for the whole collection.

Some final thoughts.
"K" is for King Kong, the story of a caged animal who just wanted to find love and to roam free.
 
"X" is for the X-Men, the story of powerful mutants  fighting in a world of normals for peace and equality.
 
Thank you for joining me in the journey of discovery and introspection. I'm proud of my resiliency and completing such a lengthy project. Now like from a scene from one of my favorite shows, Young Sheldon, when MeeMaw and Sheldon complete the game and they look at each other and say "Now What?"  and they decide to rush out to Radio Shack to buy new ones to master. I do feel a strange sense of sadness as I say goodbye to my Monster and Mysterious Creatures Alphabet. Maybe I need to arrange them alphabetically and show them in their entirety, but this is a task for another day.

Wednesday, August 14, 2019

Misunderstood Monsters and Mysterious Creatures Alphabet-Installment R, V, and Y-A Peek-a-Boo Project

I will be reusing the Small 5" by 7" Wooden IKEA frames I added to patina to the last time and have included those steps here for reference. This time I will be using Embossing Powders and a Heating tool to alter the Gypsy Soul Laser Cuts Alphabet Stencils for "R" is for Ravens, messengers of bad luck, "V" is for Vampires sometimes in the form of a bat, and "Y" is for Yeti also known as the Abominable Snowman. Remember this technique can be used to alter any of the GSLC chipboards. 
Supplies:  Gypsy Soul Laser Cuts-Alphabet Stencil Blanks, Gypsy Soul Laser Cuts-Snowflake Shape Set, Gypsy Soul Laser Cuts-String Alongs - Gothic,   3 small 5" by 7" inch IKEA wooden frames, Matte Medium Ice Resins in Torched Copper and German Silver, Aged Hunter and Aged Copper Embossing Enamel, Tim Holtz Distress Spray Stain in Walnut, Heating Tool, Finnabair Rust Pastes in Greens, Browns, and Orange, Transparent Burnt Sienna Ink, Paint Brush, Versa mark Ink Pad, Embossing Powders-Tarnished Gold, Copper, Wendy Vecchi Red Geranium, PEARLustre Lapis, and Ranger Black Sparkle, Pieces of scrapbook papers for the backgrounds, Various Printed Images of Monster and Mysterious Creatures using Inkjet Printer and paper, and Weldbond.
1.  Take GSLC Alphabet Stencil Blanks from Package.
2.  Print Images of your choosing to represent each letter, I have decided upon a Monsters and Mysterious Creatures one and not sure what I will find.
3.  I am using 3 small 5" by 7" inch IKEA wooden frames to showcase each of the letters.
4.  I am a texture type of guy so I want to alter the frames and give them added interest. I want them to look similar but not the same like they are part of a collection.
5.  For the first frame I used various Ice Resin Enamels in German Silver and Torched Copper and Embossing Enamels in Aged Hunter and Aged Copper. I layered them and cured with a heating tool. This method can also be used on any of the GSLC chipboards as I will probably use later in my project.
6.  I added Tim Holts Distress Sprays in Walnut Stain to add additional patina.
7.  The second frame was aged using Finnabair rust pastes in greens, browns, and orange placed on randomly with a paintbrush. I then used transparent burnt sienna ink to fill in any empty spaces. Once again this technique can be used on any of the GSLC chipboard pieces. 
8.  The final frame was given a patina using Tim Holtz Distress Grit-Paste and Ferro-Copper Paste applied with a thin plastic spatula using a  Snake Skin Stencil and further distressing with alcohol inks in browns and greens. Once again this technique can be used on any of the GSLC chipboard pieces. 
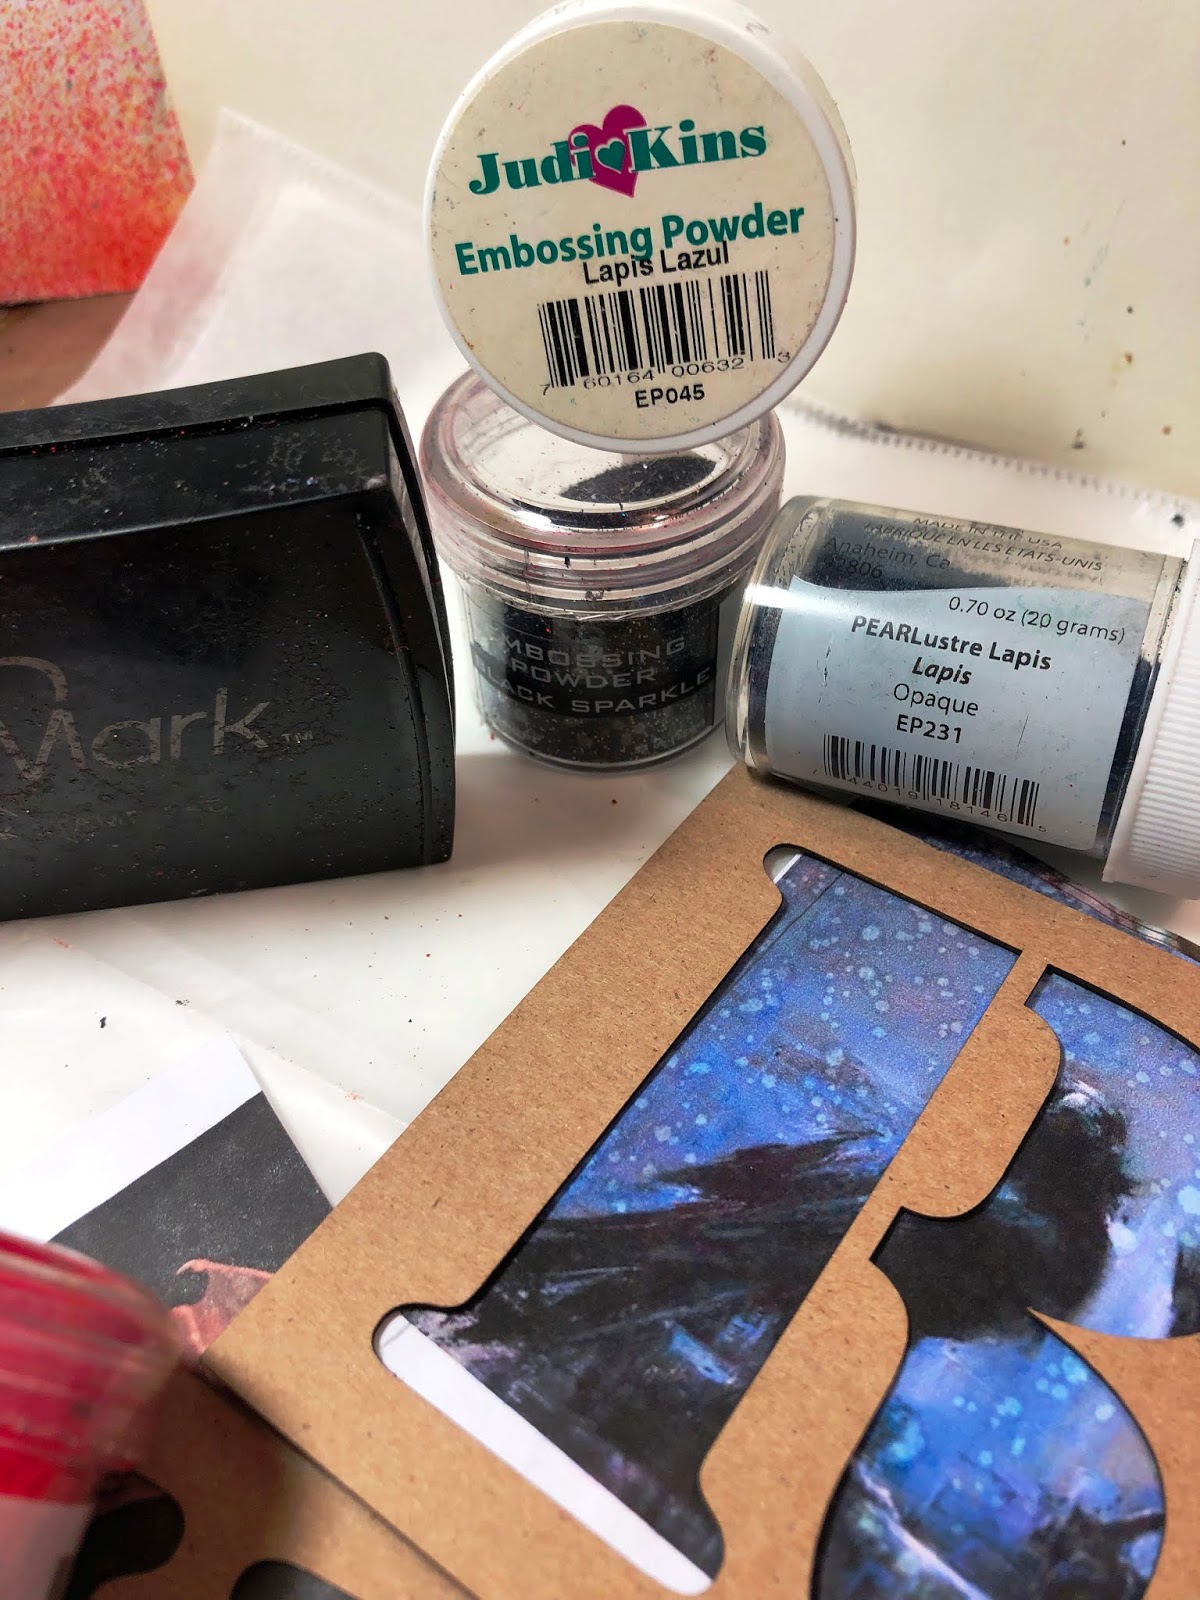
9.  For altering the GSLC Alphabet Stencil Blanks this time I will be Versa Mark Ink Pad, Embossing Powders, and a Heating Tool.
10.                I used on PEARLustre Lapis, and Ranger Black Sparkle Embossing Powders on the GSLC Alphabet Stencil "R", Wendy Vecchi Red Geranium Embossing Powders on the GSLC Alphabet Stencil "V", and Tarnished Gold and Copper Embossing Powders on the "Y".
 
 
 11.                Choose the Raven and Chandelier from the Gypsy Soul Laser Cuts String Alongs Gothic Set and some snowflakes from the GSLC Snowflake Shape Set.
12.                Find complimentary pieces of scrapbook papers for the backgrounds of you GSLC Alphabet Framed Designs. I used a gilded script for the "R",  I used a Brick and distressed wall for the "V", and a wood grain for the "Y".
13.                Cut and glue the appropriate images for each of Framed letters, securing with Weldbond.
14.                Add the chosen Raven, Chandelier, and Snowflakes from each of the Gypsy Soul Laser Cuts Sets to add further depth to your designs. I did not alter these chipboards in any way but used them in their original beauty.
15.                Our GSLC Alphabet Stencils are complete for Letters "R","V" and "Y"

Some final thoughts.
"R" is for Ravens sometimes a messenger of death but this too may be a misconception.
"V" is for vampires, sometimes in the form of a bat to hide their original conception.
"Y" is for the Yeti sometimes called the Abominable Snowman who never seems to get a warm reception.
 
Stay tuned for the next and last instillation of  my GSLC Alphabet Stencil Blanks-Monsters and Mysterious Creatures Edition. I wonder what I will use for the final two letter "K" and "X"?